What sort of tutorial are you looking for? I would LOVE to hear your suggestions so that maybe I can offer it here. There's so many great things already online and I'm always scouring for the latest "fad". Just shoot me an email and let me know what you'd like to see! [email protected]
This month's offering....
January - The Perfect Heart
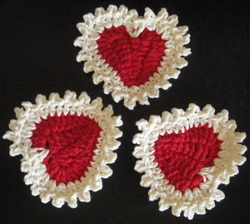
I had planned on offering another paper craft this month but then I realized Valentine's Day was next month - so I present to you The Perfect Heart, instead. These are easy to crochet in no time and if you make enough of them, you can join them to make the most adorable scarf for this most fun holiday! They almost look like they're surrounded in whipped cream, don't they? Just click here for instructions//// /tute-instructions.html
December - The Pink Balls Award!
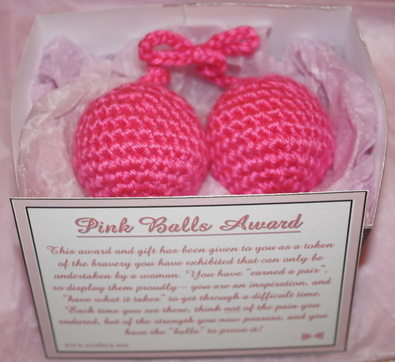
When my sister was faced with needing a hysterectomy this past month, my heart went out to her for her pain - both physical and emotional. Losing a part of your body that identifies you as a woman is devastating. These kinds of surgeries are understood only by women. The courage we muster up for something like this, or cancer, or even "monthly" issues, are more than our male counterparts could ever tolerate. Yet men are said to "have balls" when they face something that takes bravery - until now!
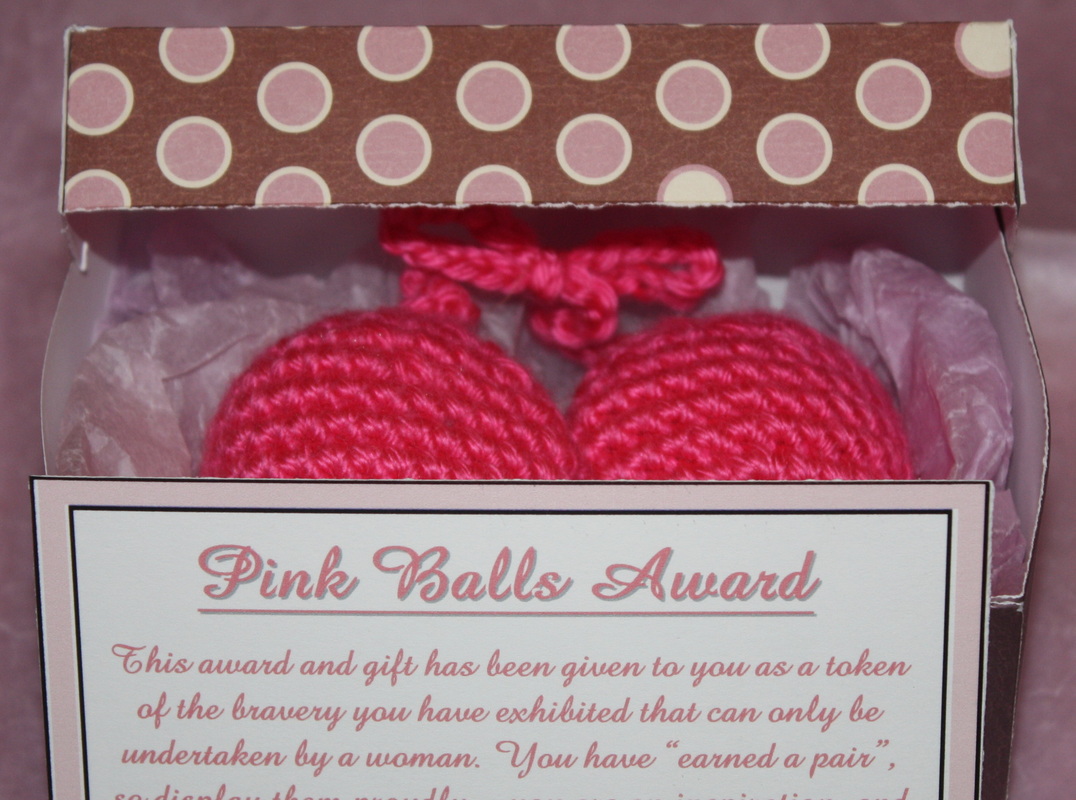
Do you know a woman who has endured such an episode? Has she "Got Balls"? Then make sure she can prove it with "Pink Balls" and the Award card that's issued with them! Not just a funny gift, but truly thoughtful and "EMPOWERING"!!!
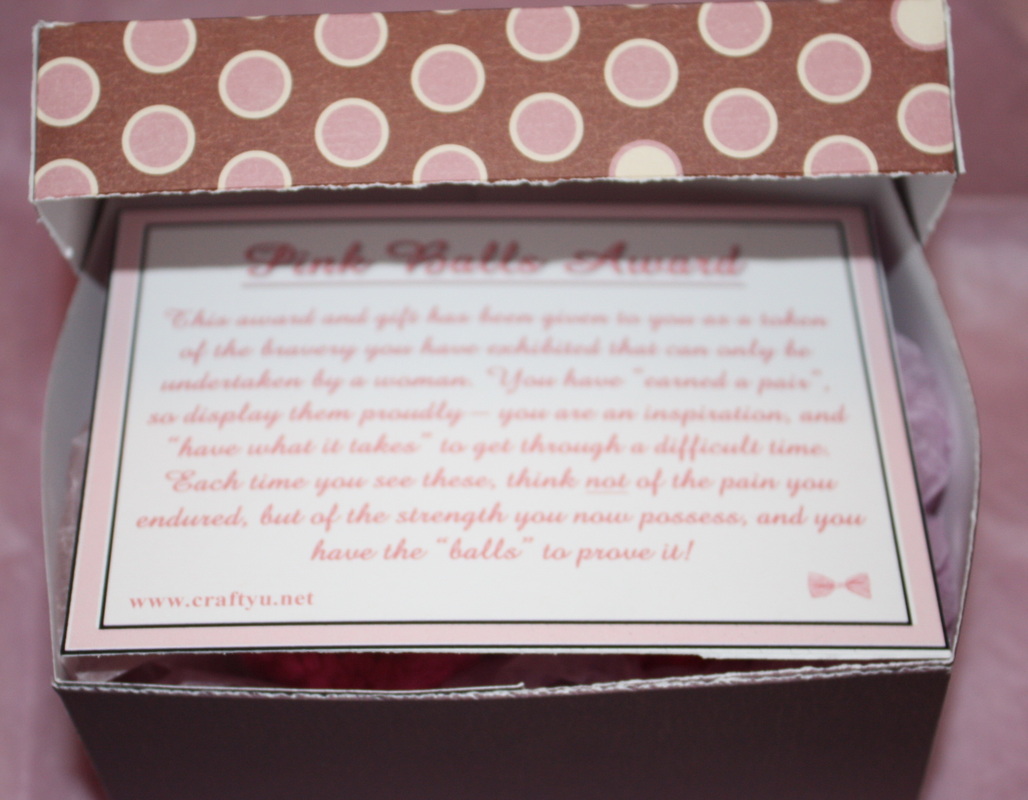
Following are the instructions AND if you write to me, I will send you (free of charge) a pdf file that has the Award Card already formatted to print 4 cards to a page (this is an important part of the whole "Pink Balls" gift). Just simply print the file out on card stock paper and cut them out. I also made the box that I presented them in (see picture below). It was quite a wonderful (and VERY funny) surprise for my sister - her uterus has been replaced with BALLS!!! Ha ha ha! If you would like to just purchase a set - with the Awards Card - see purchase information following the instructions.
Do you know a woman who has endured such an episode? Has she "Got Balls"? Then make sure she can prove it with "Pink Balls" and the Award card that's issued with them! Not just a funny gift, but truly thoughtful and "EMPOWERING"!!!
Following are the instructions AND if you write to me, I will send you (free of charge) a pdf file that has the Award Card already formatted to print 4 cards to a page (this is an important part of the whole "Pink Balls" gift). Just simply print the file out on card stock paper and cut them out. I also made the box that I presented them in (see picture below). It was quite a wonderful (and VERY funny) surprise for my sister - her uterus has been replaced with BALLS!!! Ha ha ha! If you would like to just purchase a set - with the Awards Card - see purchase information following the instructions.
Please note: This idea/concept was created solely by me on November 28, 2011. Please do not promote this idea as your own. If you would like to link your site to my website, it would be greatly appreciated if you would extend the credit towards me. This concept was created to start a movement of awareness of the removal of reproductive organs and/or anatomical female "parts" and is not in any way to be misconstrued as pornographic.
"Pink Balls" Pattern
worsted weight yarn
Size F (4 mm) crochet hook
polyfil for stuffing
tapestry needle for weaving ends
sc: single crochet
inc: 2 sc in one stitch
dec: 1 sc over two stitches through the front loops only
gauge: not important, but mine are about 2 inches wide
Make a magic ring (if you don't know how, just search on internet - very easy).
R1: 6 sc into ring
Ball worked as a spiral. Place marker to keep track of rounds.
R2: inc in each stitch around
R3: *inc, sc* around
R4: *2 sc, inc* around
R5: *inc, 3 sc* around
R6: *4 sc, inc* around
R7-11: sc around
R8: *dec, 4 sc* around
R9: *3 sc, dec* around
R10: *dec, 2 sc* around
R11: *1 sc, dec* around
Stuff with polyfil
R12: dec around
Make 2
Crochet a ch – 50 ch sts leaving a tail at each end.
Attach each end to the beginning spirals on each ball – tie bow in middle of chain.

To Order your Own set of "Pink Balls" and Award Card
As described above, you will receive one set of pink balls and an Award card printed on card stock - shades of pink may vary depending on supply of yarn available.
$
10.00
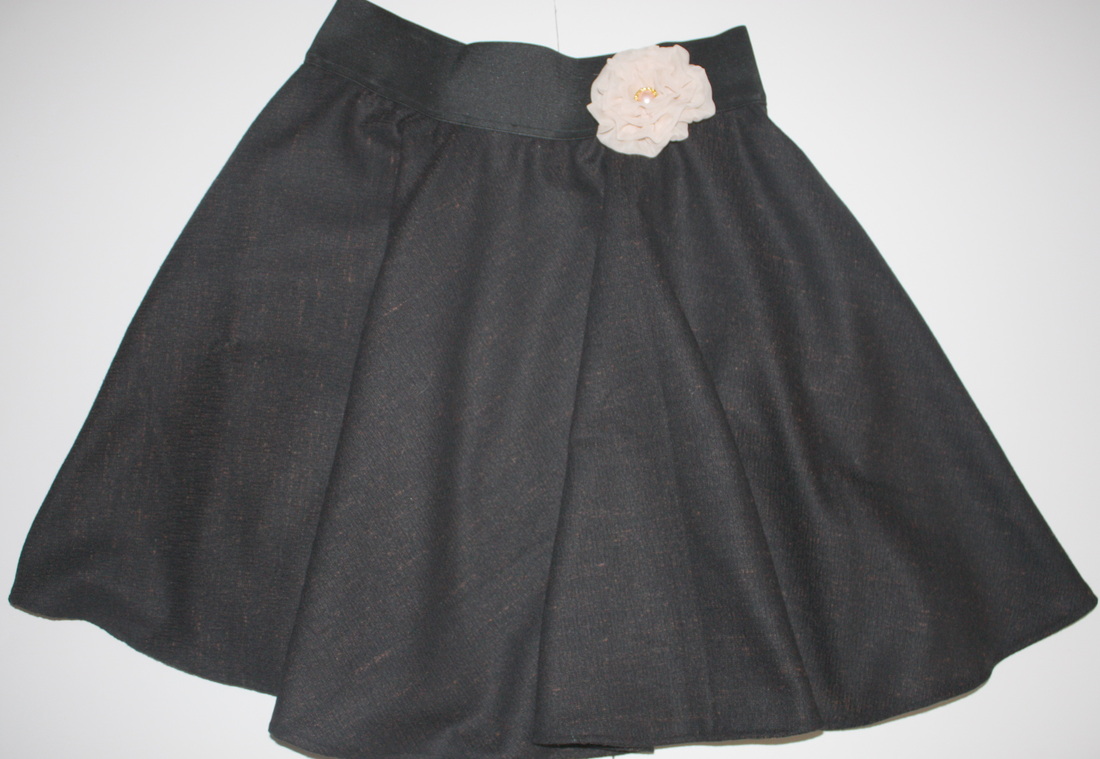
October - Circle Skirts
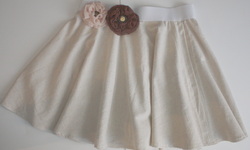
Full Circle Skirts - made to fit YOU!
I don't normally offer tutorials that I didn't create myself, but this one was just too good not to pass on to my readers. This is for step-by-step instructions to make a "circle skirt" - you know, those really full skirts that are fun to twirl in! This woman has made the instructions so easy to follow - I made 2 skirts in one evening.... and I hate to sew! (This is one I made - I used the flowers you see on my header). Take a look - http://www.dana-made-it.com/2008/07/tutorial-circle-skirt.html
Here's a couple more pictures of the 2 that I made......
Here's a couple more pictures of the 2 that I made......

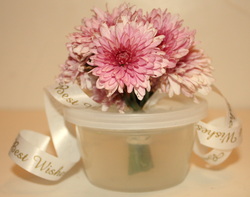
September - Self Watering Mini-Bouquets from Baby Food Containers
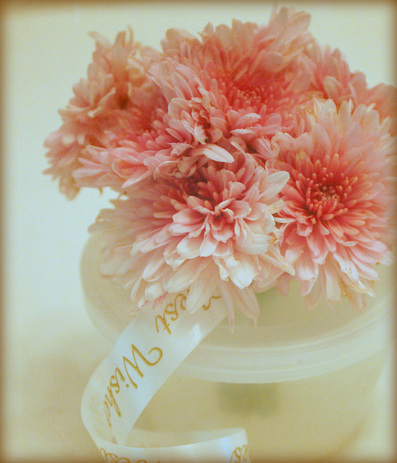
As my Sister and Brother-In-Law celebrated their 12th Wedding Annuiversary, I needed a quick gift to go along with some homemade fudge. I went to the backyard realizing that the fall Mums were in full bloom. How could I present these tiny flowers to make a big impact?
I became a Grandmother 10 months ago, and with the little darling eating like a ravenous teenager, I seem to have accumulated hundreds of baby food jars and plastic containers. I have some great ideas for the little glass jars and have been saving the plastic ones for whatever. And "Whatever" came to me today.
After cutting 12 perfect little purple mums, I knew by the time I was able to give these to the celebrating couple, they would wilt - so I needed a container to keep them watered. So here's your list of supplies and instructions on how I achieved the adorable little bouquet you see pictured.
Supplies:
Flowers of choice (should be small types)
Plastic Baby Food container (used usually for fruits)
Scissors
12" Decorative Ribbon
Instructions:
Arrange your flowers in a bunch, and remove All leaves from bottom of stems (No leaves should be in the water). Center the ribbon around the bunch and tie tightly around stems, close to the base of the flowers. Cut the stems 1" from the ribbon. Set aside.
Using scissors, cut a small hole in the center of the lid of the plastic container. Make sure that the hole is slightly smaller than the diameter of the tied flowers or they won't stand properly. Push the bunch of flowers through the top of the hole as far as they will go, making sure your flowers look nicely arranged and the ribbon is hanging freely.
Fill your container with water and snap the lid with flowers onto container. You're done! If you're making this for yourself, remember to add water periodically to keep our flowers fresh.
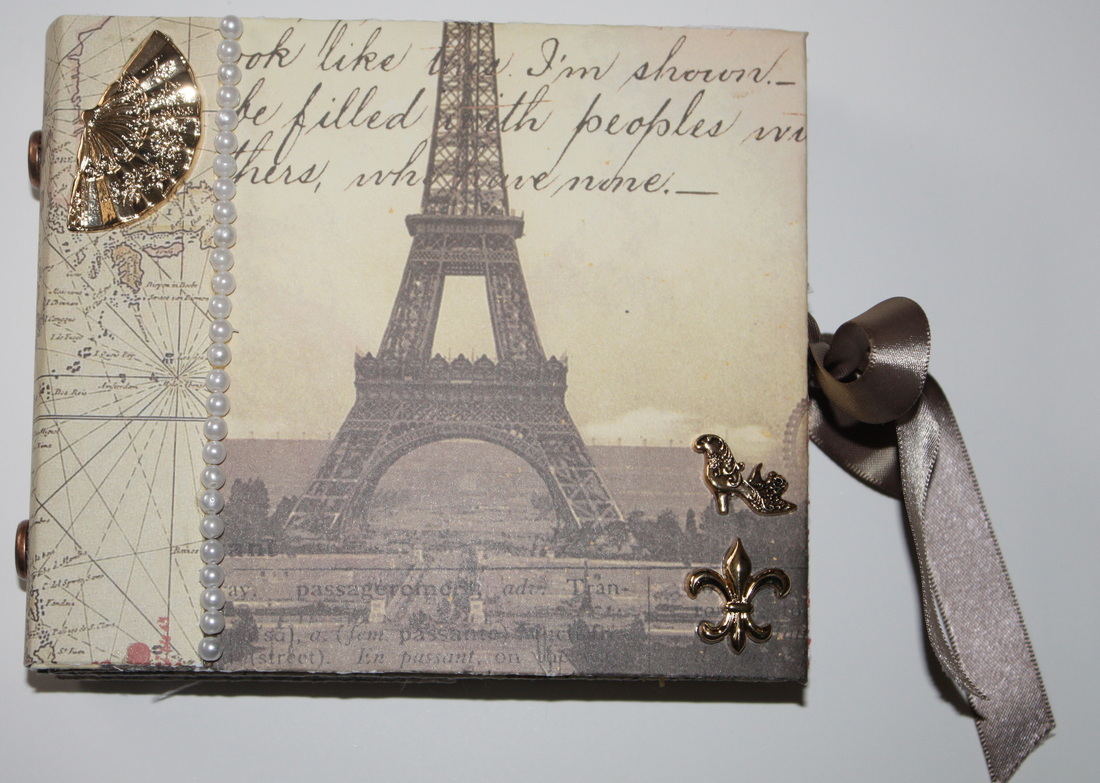
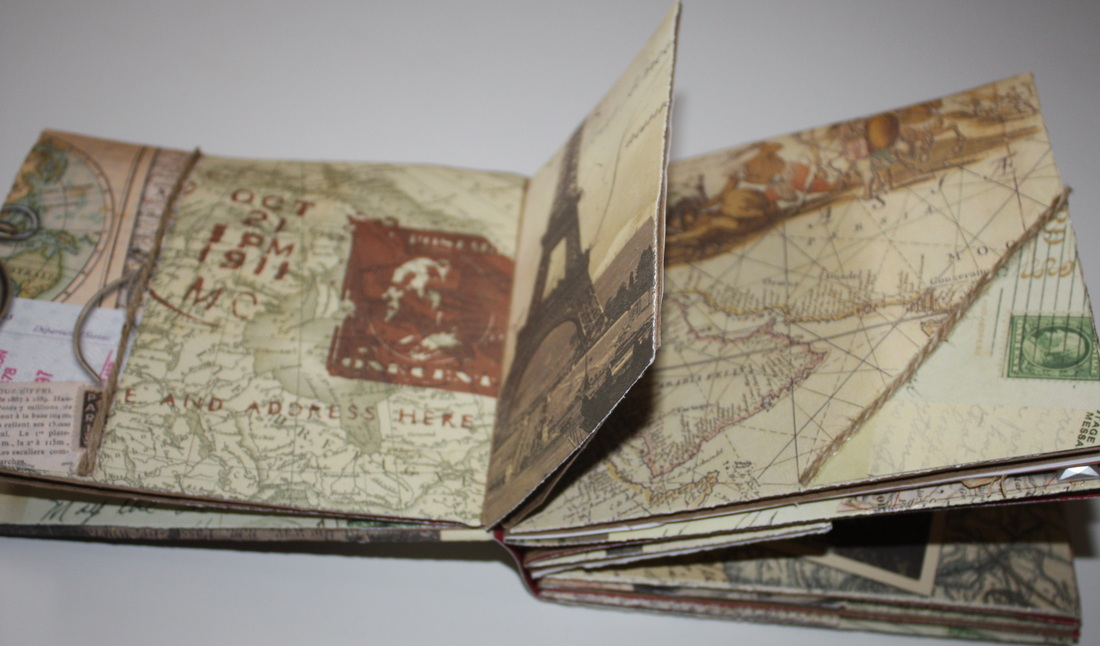
August - Free Tutorial........ Paperbag Scrapbooks
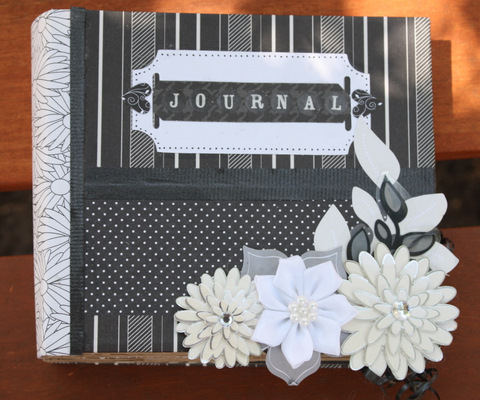
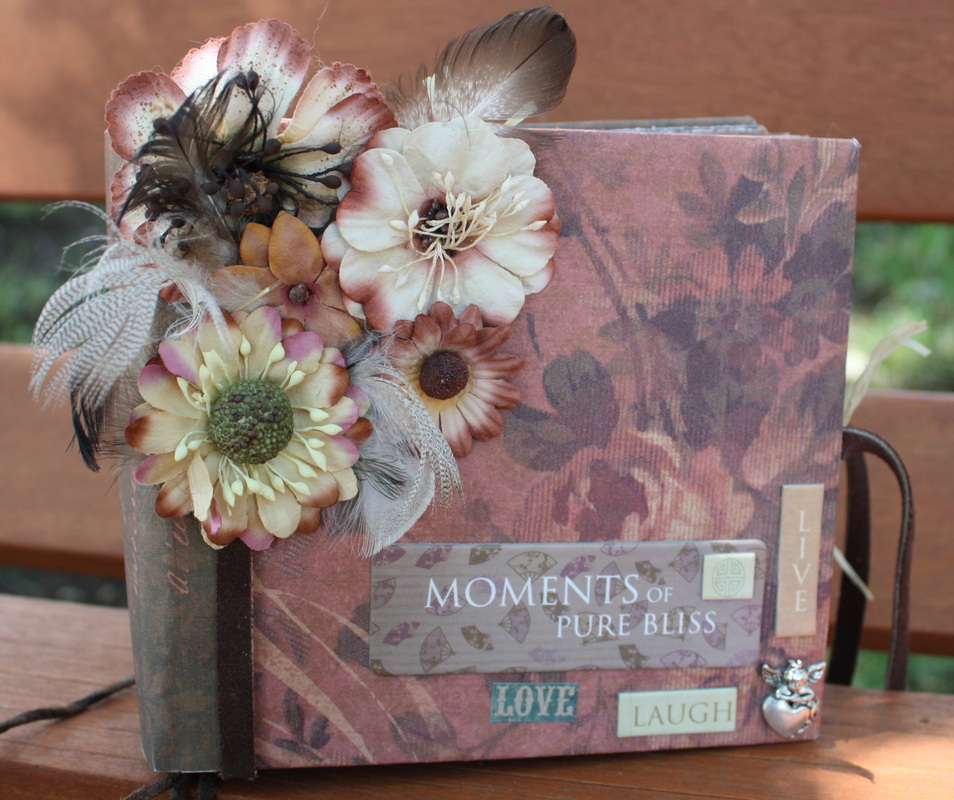
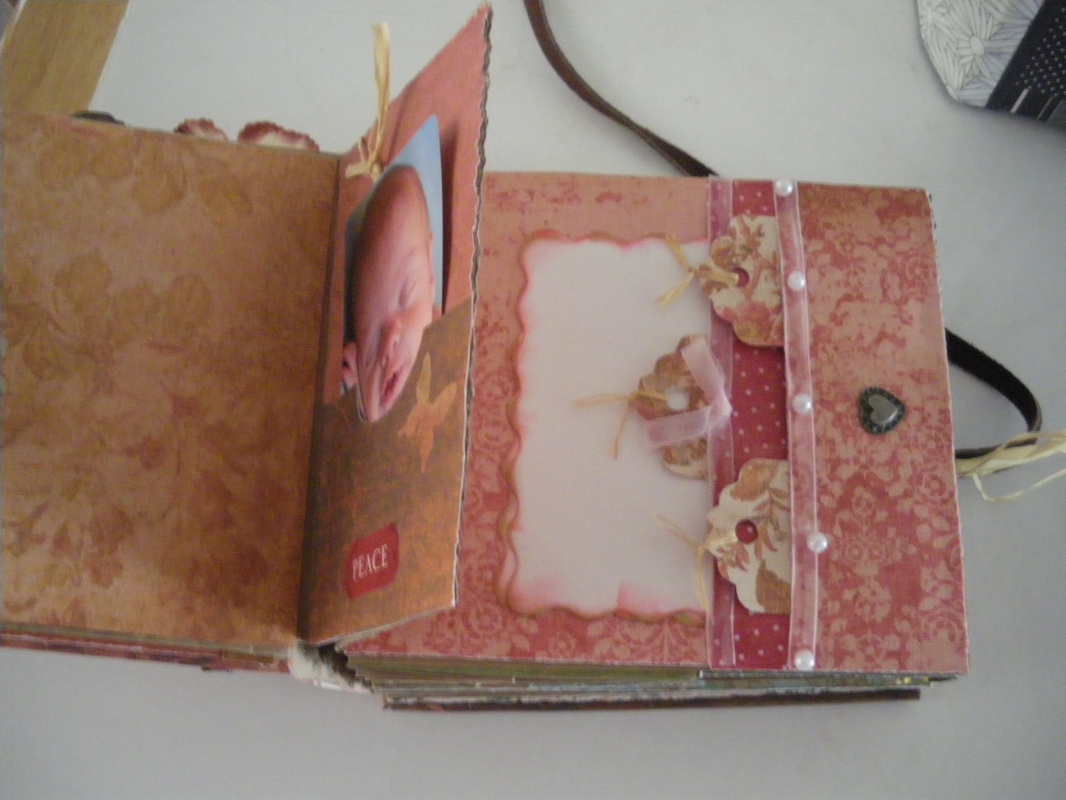
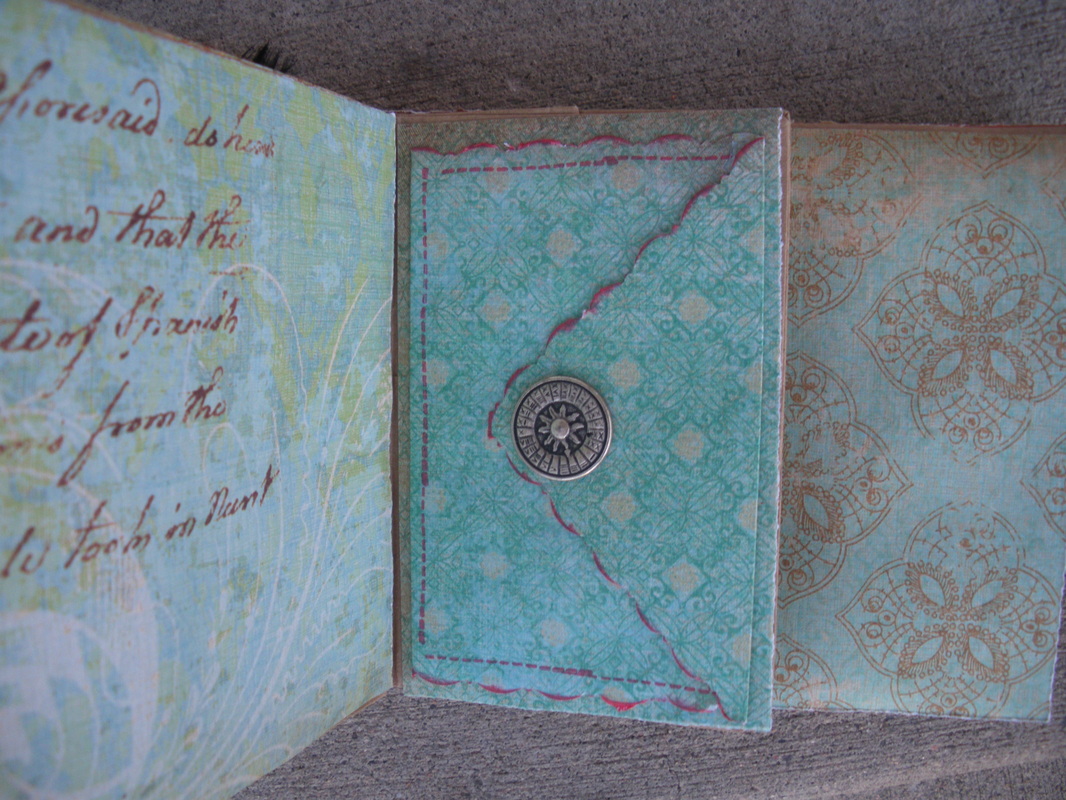
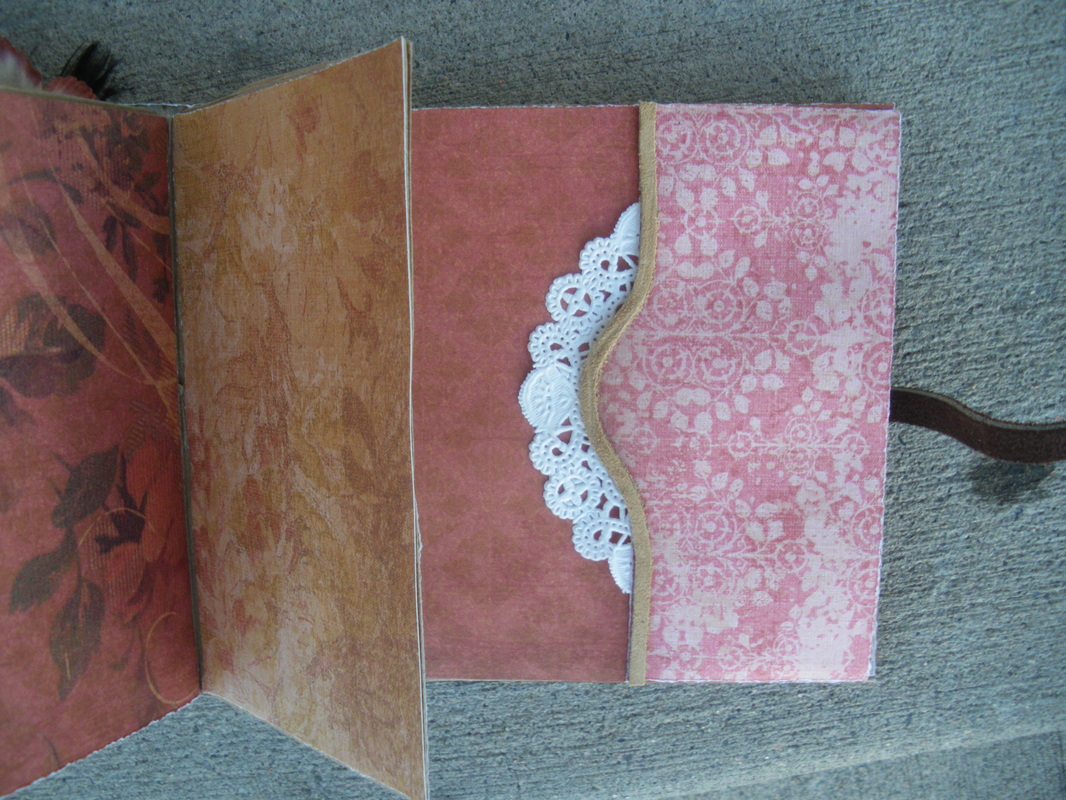
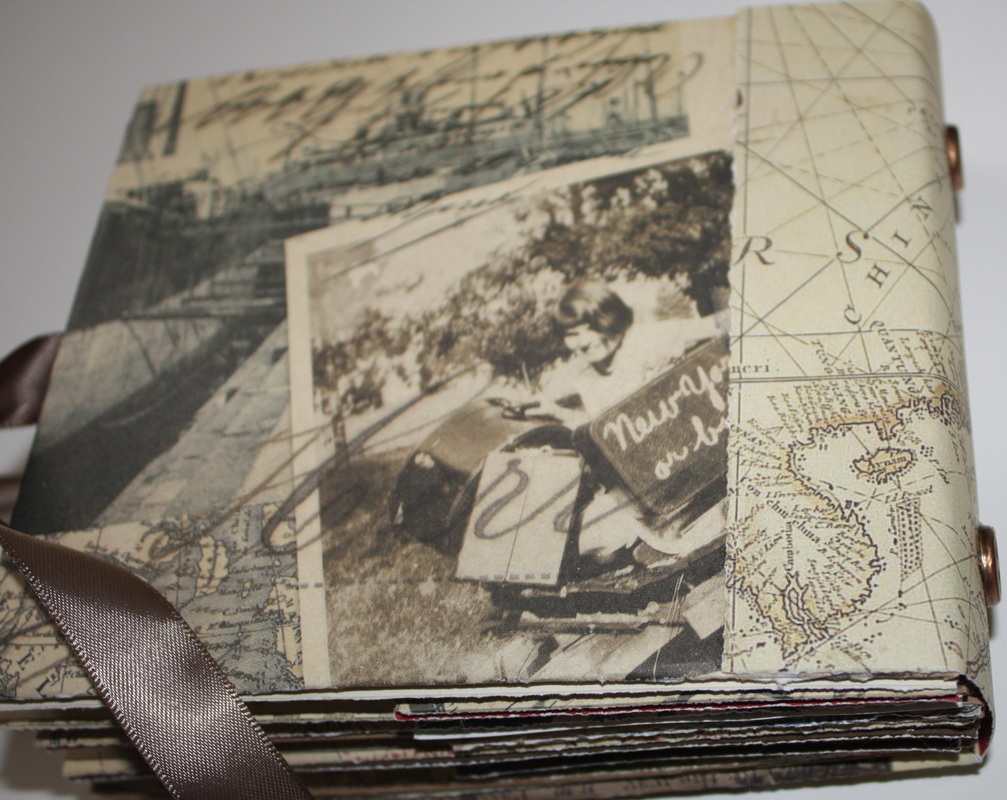
Paperbag Scrapbooks
These are little works of art that I promise you're going to love!
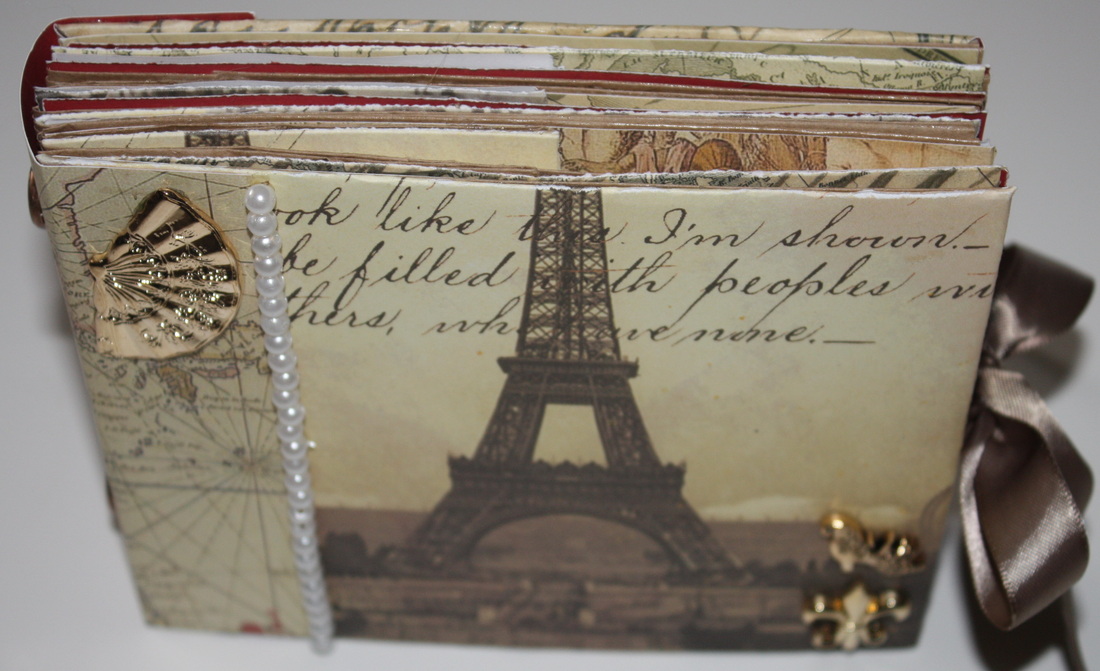
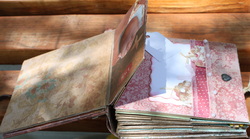
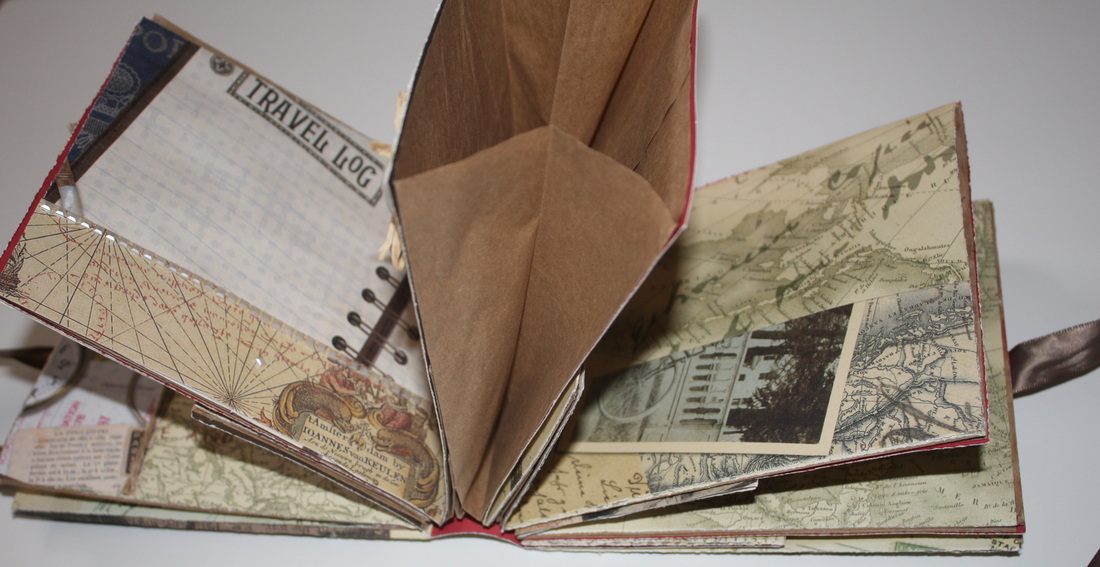
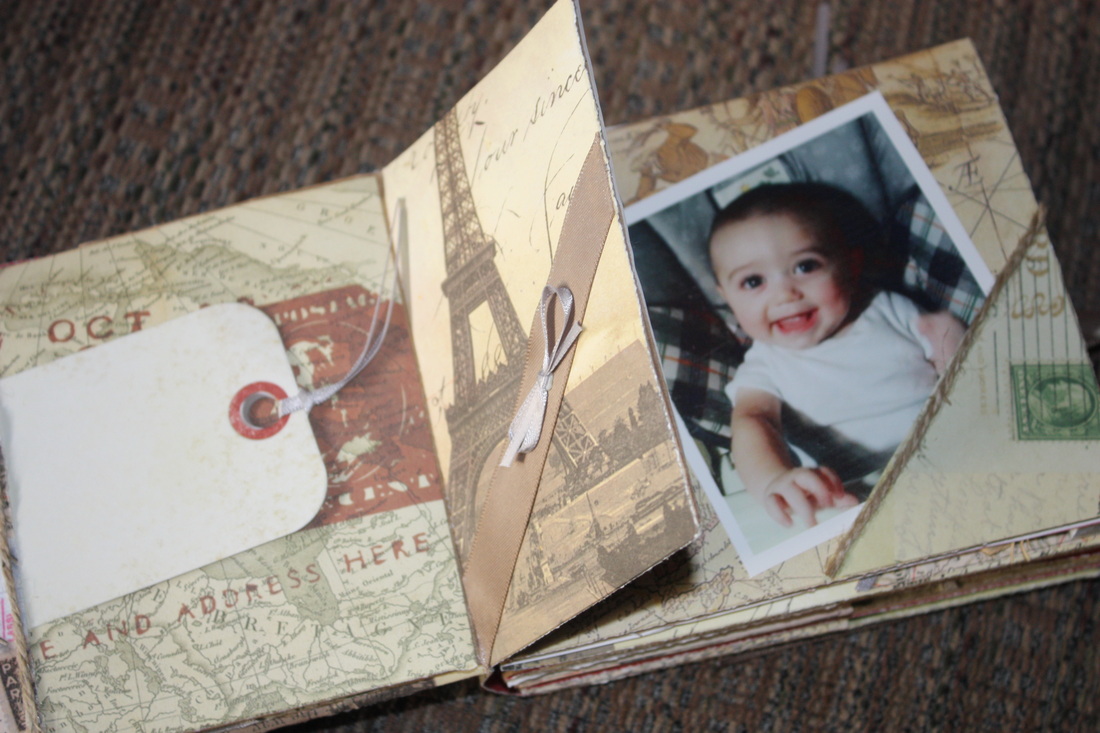
This Free tutorial will show you step-by-step how to make a basic book. (Link at bottom of page). The details are your own. This is an ongoing project, as each page is it's own masterpiece. Here are some examples of the inside of the pink book:
These are little works of art that I promise you're going to love!
This Free tutorial will show you step-by-step how to make a basic book. (Link at bottom of page). The details are your own. This is an ongoing project, as each page is it's own masterpiece. Here are some examples of the inside of the pink book:


Without further babble, here is the link.
www.craftyututorials.weebly.com Enjoy!
www.craftyututorials.weebly.com Enjoy!
